How to Connect a Home Assistant Server to HADash on Apple TV
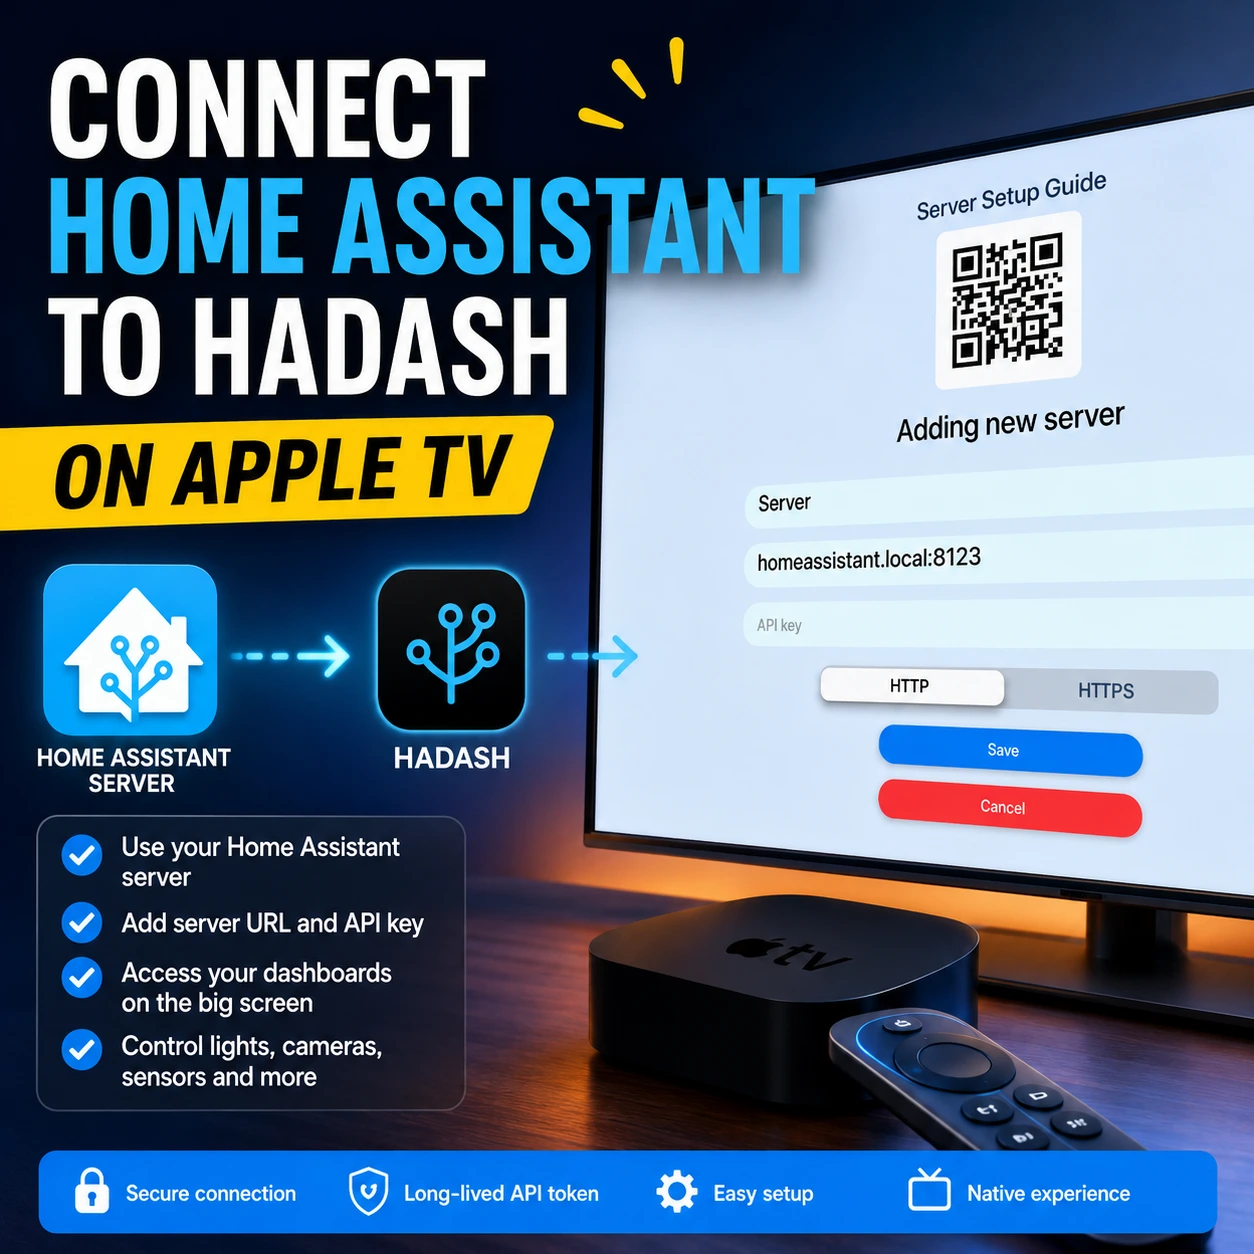
HADash turns Apple TV into a large-screen interface for Home Assistant. It connects directly to an existing Home Assistant instance and displays dashboards that have already been created on the server, so users do not need to rebuild their smart home configuration inside a separate application.
To connect HADash, you need two main pieces of information:
- The address of your Home Assistant server.
- A Home Assistant long-lived access token.
This guide explains how to find both, add the server to HADash, and resolve the most common connection problems.
What You Need Before Starting
Before connecting your server, make sure you have:
- A working Home Assistant installation.
- Apple TV with HADash installed.
- Access to the Home Assistant web interface.
- Your Home Assistant server address.
- Permission to create a long-lived access token.
- A network connection that allows Apple TV to reach the Home Assistant server.
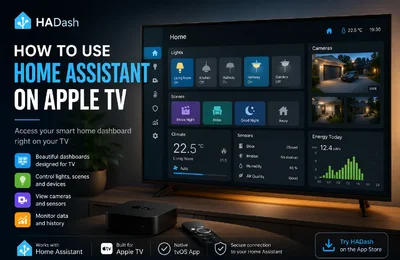
HADash is a dedicated Apple TV application that connects directly to Home Assistant and displays existing dashboards, including supported lights, sensors, cameras, graphs, and other interface elements.
Video: How to Connect Home Assistant to HADash
How to Connect Home Assistant to HADash on Apple TV
The video above shows the complete connection process on Apple TV, from opening the HADash server settings to entering the Home Assistant address and access token.
The written instructions below provide additional context, security recommendations, URL examples, and troubleshooting guidance.
Step 1: Find Your Home Assistant Server Address
HADash needs the address it should use to reach your Home Assistant instance.
Depending on your network configuration, the address may look like one of the following:
http://homeassistant.local:8123
http://192.168.1.100:8123
https://home.example.com
These are examples only. Your actual hostname, IP address, domain, protocol, and port may be different.
The simplest way to identify the correct address is to open Home Assistant in a browser on another device connected to the same network and check the URL shown in the address bar.
Local server address
For a Home Assistant installation used only inside the home network, you may have:
- A local hostname such as homeassistant.local.
- A fixed local IP address.
- A local domain configured in your router or DNS server.
The default Home Assistant port is commonly 8123, unless a reverse proxy or another network configuration is being used.
Remote server address
A remote HTTPS address may be used when Home Assistant is configured for secure external access.
Home Assistant recommends using a secure remote-access method rather than exposing an unsecured installation directly to the internet. Official options include Home Assistant Cloud, a properly configured VPN, or another secured HTTPS configuration.
For connections outside the local network, valid HTTPS certificates are recommended.
Step 2: Create a Long-Lived Access Token
HADash requires authorization to communicate with Home Assistant.
Home Assistant provides long-lived access tokens for applications and scripts that need persistent API access. The official authentication documentation recommends this token type when a permanent token is required. (Home Assistant)
To create one:
- Open the Home Assistant web interface.
- Sign in with the user account that HADash should use.
- Click your user profile in the lower-left corner.
- Scroll to the Long-Lived Access Tokens section.
- Select Create Token.
- Enter a recognizable name, such as HADash Apple TV.
- Confirm the creation.
- Copy the complete token immediately.
The official HADash setup documentation follows the same process and notes that the token will not be shown again after the creation window is closed.
Home Assistant’s developer documentation states that long-lived access tokens are valid for ten years unless removed earlier.
Keep the Access Token Private
A long-lived access token provides authenticated access to your Home Assistant instance. Treat it like a password.
Do not:
- Publish it in an article.
- Include it in a YouTube recording.
- Leave it visible in screenshots.
- Post it in a support forum.
- Send it through a public chat.
- Store it in a public repository.
Before recording a setup video, use a temporary token or hide the entire token field during editing.
If a token is exposed, remove it from the Home Assistant profile and create a new one.
Step 3: Open the Servers Section in HADash
Open HADash on Apple TV.
Navigate to the Servers tab and select Add New Server. These are the interface steps documented in the public HADash setup guide.
HADash supports multiple Home Assistant servers, so an additional server can be added without necessarily removing the existing configuration.
Step 4: Enter the Home Assistant Address
Enter the address identified in Step 1.
Make sure the address includes the correct protocol:
http:// or https://
If your setup requires port 8123, include it:
http://192.168.1.100:8123
Do not add random paths after the hostname unless your Home Assistant installation is intentionally configured to use them.
Common input mistakes include:
- Omitting http:// or https://.
- Entering the wrong local IP address.
- Forgetting the required port.
- Adding a trailing space.
- Using an address that works only through a VPN on another device.
- Using a public address with an invalid certificate.
- Entering the URL of the router instead of Home Assistant.
Step 5: Enter the Long-Lived Access Token
Paste the token generated in Home Assistant into the corresponding HADash field.
The public HADash documentation recommends using the Apple TV Remote on an iPhone to enter the server details. This is usually easier than typing a long URL and token with the physical Apple TV remote.
Make sure:
- The complete token was copied.
- No characters are missing.
- There are no spaces before or after it.
- You did not paste your Home Assistant password instead.
- The token was created under the intended Home Assistant user.
Step 6: Save and Connect
Save the server configuration.
HADash should then attempt to authenticate with Home Assistant and retrieve the available dashboards.
After a successful connection, HADash displays the dashboards already configured in Home Assistant. Dashboard customization remains within the Home Assistant interface, and HADash reflects the available configuration rather than requiring a separate dashboard editor. (GitHub)
Step 7: Open Your Home Assistant Dashboard
Once connected, select the dashboard you want to use on Apple TV.
A standard Home Assistant dashboard may work immediately, but a dedicated television layout usually provides a better experience.
For a TV dashboard, consider using:
- Larger cards.
- Fewer columns.
- Short entity names.
- Clear room-based views.
- Frequently used lights.
- Scenes and scripts.
- Climate controls.
- Cameras.
- Main security sensors.
- Weather and summary information.
Avoid placing every diagnostic entity on the television. A TV dashboard should prioritize information and controls that are useful from the room where the screen is located.
Does HADash Change the Original Dashboard?
HADash does not require users to rebuild their dashboards inside the app. It connects to the existing Home Assistant instance and displays the dashboards already configured there.
When you need to change:
- Card placement.
- Entity names.
- Dashboard views.
- Camera cards.
- Graphs.
- Scenes.
- Layouts.
make those changes through the Home Assistant web interface.
HADash should then load the updated dashboard data.
Which Home Assistant User Should HADash Use?
The long-lived token inherits access from the Home Assistant user who creates it.
For a shared television, consider creating a separate Home Assistant user specifically for HADash.
This provides a clearer separation between:
- Administrator access.
- Personal dashboards.
- Shared household controls.
- Television access.
A TV-specific user can also be paired with a simplified dashboard that excludes sensitive controls.
Depending on your household, you may choose not to expose:
- Door unlocking.
- Alarm disarming.
- Garage-door controls.
- Private cameras.
- Detailed presence history.
- Administrative functions.
Troubleshooting HADash Server Connections
HADash Cannot Connect to Home Assistant
Check the following:
- Open the same server URL on another device.
- Confirm that Home Assistant is running.
- Verify that the protocol is correct.
- Check whether port 8123 is required.
- Confirm that Apple TV is connected to the expected network.
- Re-copy the access token.
- Remove spaces around the URL and token.
- Check whether a firewall or VLAN blocks the connection.
A successful connection requires more than a valid token. Apple TV must also be able to reach the server address over the network.
homeassistant.local Does Not Work
The .local hostname depends on multicast DNS support.
It may fail when:
- Apple TV and Home Assistant are on different VLANs.
- Multicast traffic is blocked.
- The router handles mDNS poorly.
- Apple TV is connected to a guest network.
- The network isolates wireless clients.
Try using the local IP address of the Home Assistant server instead:
http://192.168.1.100:8123
The IP shown here is only an example.
For long-term stability, consider assigning the Home Assistant host a reserved local IP address through the router.
Invalid Token or Unauthorized Error
This usually indicates an authentication problem.
Possible causes include:
- The token was copied incompletely.
- A character was removed.
- Extra spaces were included.
- The token was deleted in Home Assistant.
- A password was entered instead of a token.
- The wrong Home Assistant user created the token.
Create a new long-lived token and try again.
The Home Assistant REST API documentation specifically warns users to copy the complete key.
The Server Works on a Phone but Not on Apple TV
A phone and Apple TV may not be using the same connection route.
For example:
- The phone may be using mobile data.
- The phone may have an active VPN.
- The Home Assistant Companion app may use an external URL.
- Apple TV may be on guest Wi-Fi.
- Network isolation may block local devices.
- The local hostname may resolve on one device but not another.
Test the exact URL without relying on a VPN or mobile connection that Apple TV does not have.
HTTPS Certificate Error
A secure connection can fail when:
- The certificate has expired.
- The certificate does not match the domain.
- A self-signed certificate is not trusted.
- The server is accessed by IP while the certificate was issued for a domain.
- An incomplete certificate chain is being served.
Home Assistant recommends valid SSL certificates for secure connections, especially for remote access.
Do not bypass certificate validation by exposing Home Assistant through an insecure public connection.
Local IP Address Changed
If Home Assistant receives its IP address automatically from the router, that address may change after a restart.
For example, HADash may have been configured with:
http://192.168.1.100:8123
but the server may later receive:
http://192.168.1.115:8123
Configure a DHCP reservation or static local address so the Home Assistant server remains reachable at the same IP.
Connection Works, but No Dashboards Appear
Check that:
- The Home Assistant user can access the intended dashboards.
- At least one dashboard is available.
- The dashboard configuration is valid.
- The token belongs to the correct user.
- Home Assistant has fully started.
- The dashboard is not restricted to another user.
Restart HADash after verifying the server configuration.
Dashboard Loads, but Some Cards Do Not Work
A successful server connection does not guarantee that every dashboard card is fully supported.
The public HADash repository maintains a card-support list and documents different levels of support for standard Home Assistant cards. Some cards are fully supported, while others may have limited functionality, be under development, or be planned for a later version.
Start with standard supported cards and add more complex cards gradually.
Potential compatibility issues are more likely with:
- Community custom cards.
- Touch-focused interactions.
- Browser-specific components.
- Unsupported stack layouts.
- Complex picture elements.
- Unusual camera formats.
- Cards that depend on external JavaScript.
Cameras Do Not Load
First, open the camera inside the normal Home Assistant dashboard.
If it does not work there, the problem is probably not related to HADash.
Possible causes include:
- Camera integration errors.
- Unsupported stream format.
- Authentication issues.
- Network restrictions.
- Insufficient bandwidth.
- Transcoding requirements.
- Card compatibility.
The HADash App Store listing includes cameras among the types of dashboard content the app can monitor, but actual playback still depends on the Home Assistant and camera configuration.
Can HADash Connect to Home Assistant Outside the Home Network?
A remote server address may work when Home Assistant has been configured for secure remote access and Apple TV can reach that address.
Home Assistant recommends secure methods such as:
- Home Assistant Cloud.
- A VPN.
- A properly configured HTTPS endpoint.
Home Assistant advises against exposing an unsecured installation directly to the internet.
For most Apple TV installations used inside the home, a stable local connection is usually simpler.
Can You Add More Than One Server?
Yes. HADash supports multiple servers, according to its App Store listing and public setup documentation.
This may be useful for:
- A main home and holiday home.
- Home and office installations.
- Production and test environments.
- Separate family properties.
- Multiple independent Home Assistant systems.
Use clear server names so they are easy to distinguish from the Apple TV interface.
Frequently Asked Questions
What URL should I enter in HADash?
Examples:
http://homeassistant.local:8123
http://192.168.1.100:8123
https://home.example.com
Your real address may be different.
Where do I create the HADash API key?
Is a long-lived access token the same as my password?
Does the token expire?
Can I view the token again later?
Do Apple TV and Home Assistant need to be on the same network?
Can I use an IP address instead of homeassistant.local?
Does HADash create a new dashboard?
Can I connect several Home Assistant installations?
Final Thoughts
Connecting Home Assistant to HADash requires three basic steps:
- Find the correct Home Assistant server address.
- Create a long-lived access token.
- Add both values in the HADash Servers section.
Once the connection is established, HADash can display the dashboards already configured in Home Assistant without requiring users to recreate them inside the Apple TV application.
For the best television experience, create a separate Home Assistant dashboard with large controls, clear navigation, a limited number of cards, and direct access to the devices, scenes, cameras, and sensors most useful from the living room.
Sources
- Home Assistant Authentication documentation.
- Home Assistant Authentication API documentation.
- Home Assistant REST API documentation.
- Home Assistant Remote Access documentation.
- Home Assistant Security documentation.
- HADash public GitHub repository.
- HADash App Store listing.
The setup process and product capabilities were checked against the cited sources in July 2026. Interface labels and supported cards may change in later versions of HADash or Home Assistant.