How to Control Home Assistant Lights and Scenes from Apple TV
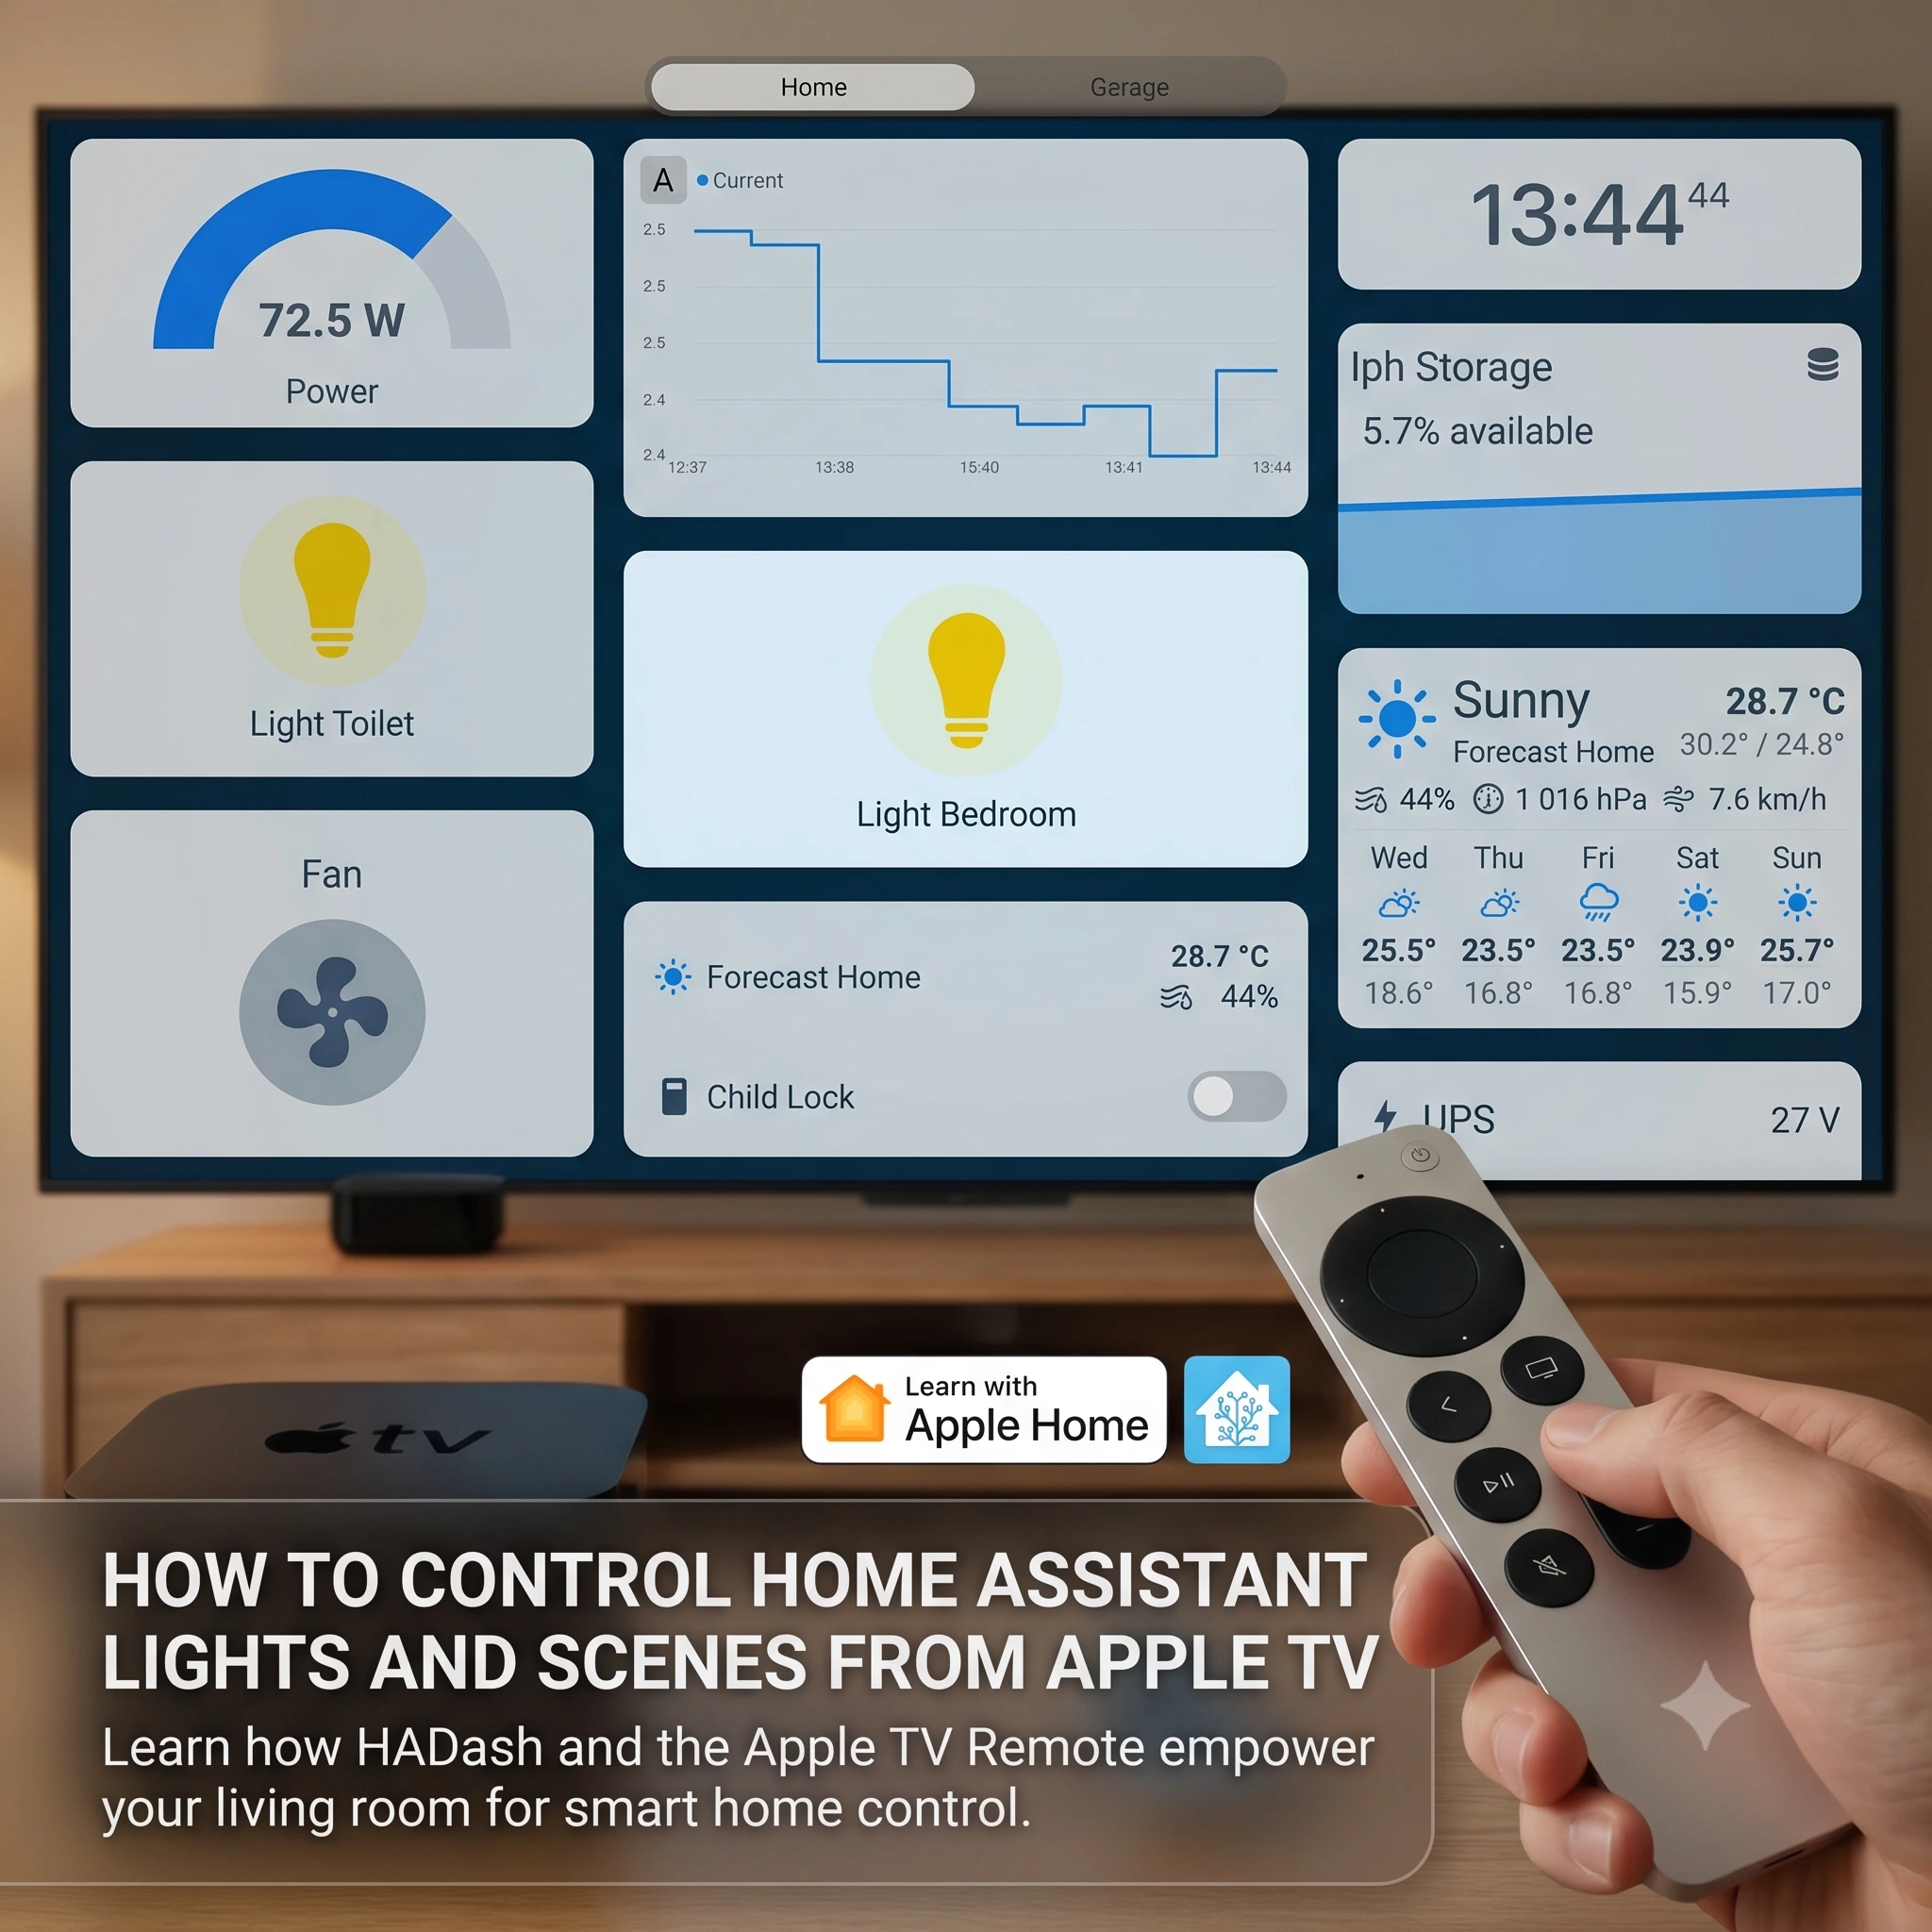
Apple TV can serve as a shared smart home control point for the living room. With a television-friendly Home Assistant dashboard, household members can switch lights on or off, activate scenes such as Movie Night or Good Night, and launch multi-step scripts without opening a phone.
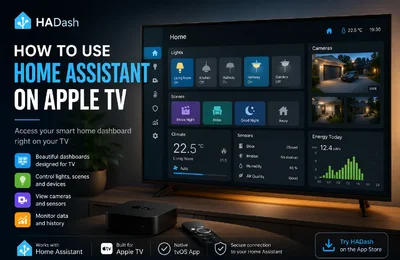
HADash is a dedicated Apple TV application that connects to an existing Home Assistant instance and displays its dashboards directly on tvOS. The application is designed to work with dashboard content such as lights, sensors, cameras, graphs, and device controls without requiring users to rebuild the entire interface inside a separate platform.
This guide explains how to add lights, scenes, and scripts to a Home Assistant dashboard, open them through HADash, and design the interface for reliable control with the Apple TV Remote.
Can You Control Home Assistant Lights from Apple TV?
Yes. The basic setup works like this:
- Add the lights and other devices to Home Assistant.
- Create a dashboard containing the required controls.
- Connect HADash to the Home Assistant server.
- Open the dashboard on Apple TV.
- Select the light, scene, or script with the Apple TV Remote.
Home Assistant dashboards are built from cards. Cards can display information, control devices, and perform actions. Home Assistant also supports separate dashboards for different rooms, users, and devices, which makes it possible to create a simplified layout specifically for Apple TV.
What You Need
Before configuring the dashboard, make sure you have:
- A working Home Assistant installation.
- Lights, switches, scenes, or scripts already available as Home Assistant entities.
- Apple TV with HADash installed.
- HADash connected to the correct Home Assistant server.
- A Home Assistant user that can access the selected dashboard.
- Reliable network connectivity between Apple TV and Home Assistant.
Test each light or scene in the normal Home Assistant interface first. If an entity does not work in Home Assistant, adding it to an Apple TV dashboard will not correct the underlying integration problem.
Lights, Scenes, Scripts, and Automations: What Is the Difference?
These Home Assistant concepts solve different tasks.
Lights
A light entity represents an individual bulb, fixture, LED strip, light group, or another controllable lighting device.
Depending on the device, Home Assistant may expose controls for:
- Power.
- Brightness.
- Color temperature.
- RGB color.
- Effects.
- Transitions.
For an Apple TV dashboard, simple power controls are normally the easiest to operate. Brightness and color controls may require additional interaction and should be tested with the remote.
Scenes
A scene sets several entities to predefined states at the same time.
For example, a Movie Night scene might:
- Dim the ceiling lights.
- Turn on an LED strip.
- Turn off the hallway light.
- Set the living-room lamps to a warm color.
Home Assistant defines scenes as collections of desired entity states. Activating the scene applies those stored states to the included devices.
Scenes are especially suitable for Apple TV because one selection can replace several individual actions.
Scripts
A script is a sequence of actions that Home Assistant executes from beginning to end when called.
Unlike a basic scene, a script can:
- Perform actions in a particular order.
- Introduce delays.
- Check conditions.
- Choose between different action sequences.
- Send notifications.
- Activate scenes.
- Control non-light entities.
Home Assistant documents scripts as manually callable action sequences that can be launched from dashboard buttons, automations, Assist, and other parts of the system.
Automations
An automation normally begins when a trigger occurs, such as motion, sunset, a schedule, or a state change.
For manual Apple TV controls, scenes and scripts are usually more appropriate than directly exposing complex automations. The television dashboard should present understandable actions such as Movie Night, All Lights Off, or Good Night, rather than internal automation names.
Step 1: Confirm Your Light Entities Work
Open Home Assistant and test every light you want to place on Apple TV.
Check that:
- The entity is available.
- On and off controls work.
- The displayed state changes correctly.
- Brightness control works where supported.
- Color or temperature controls work where required.
- The entity responds without an excessive delay.
Typical entity IDs include light.living_room, light.kitchen_ceiling, light.tv_backlight, and switch.garden_lights. These are examples only; the actual entity IDs depend on your Home Assistant configuration.
The real IDs depend on your Home Assistant configuration.
If several lights should always be controlled together, consider creating a light group in Home Assistant rather than placing many nearly identical controls on the television dashboard.
Step 2: Create a Dedicated Apple TV Dashboard
Home Assistant allows users to create focused dashboards for particular rooms, devices, and household members.
A separate Apple TV dashboard is preferable because television navigation differs from phone or tablet use.
A practical dashboard structure might contain:
- Home — key lights and household status.
- Living Room — lamps, LED strips, climate, and media-related scenes.
- Scenes — Movie Night, Relax, Guests, Good Night, Away.
- All Lights — room groups and master-off controls.
- Security — selected exterior lights and cameras.
Avoid copying a dense administrative dashboard to Apple TV. The television interface should contain only the actions people are likely to use from the room.
Step 3: Add Light Controls to the Dashboard
Home Assistant cards display information and provide controls for entities. They can be added visually from the dashboard editor.
To add a light:
- Open the required dashboard in Home Assistant.
- Enter edit mode.
- Select Add Card.
- Choose the light entity.
- Select an appropriate standard card.
- Configure the name, icon, actions, and optional features.
- Save the card.
Use clear names
Prefer labels such as:
- Ceiling Lights
- Reading Lamp
- TV Backlight
- Kitchen Lights
- Garden Lights
Avoid exposing internal names such as:
- light_group_04
- zigbee_0x00158d000abc
- office2_light1
A person using the Apple TV Remote should understand every control immediately.
Which Cards Should You Use?
The best card depends on the required interaction and the version of Home Assistant and HADash being used.
Button Card
The standard Button card creates a large control that can perform a task. Home Assistant supports configuring Button cards through the visual editor.
It is useful for:
- Toggling a light.
- Activating a scene.
- Running a script.
- Turning off a group.
- Opening another dashboard view.
Large Button cards are well suited to remote control because they provide a distinct focus target and can display a clear icon and label.
Tile Card
Tile cards combine entity status with controls and optional features. Home Assistant recommends Tile cards in its current dashboard editor, particularly in Sections-based layouts.
A Tile card can be useful when users need both status and quick control.
However, optional sliders, dropdowns, and other fine-grained features should be tested on Apple TV. A control that works naturally with touch or a mouse may be less convenient with directional remote navigation.
Light Card
Home Assistant includes a device-specific Light card category for controlling lights.
It may be suitable when brightness and color controls are important. For a simple Apple TV interface, a large Button or Tile card may still be easier than presenting every available lighting function.
Grid Card
The Grid card arranges multiple cards into columns and rows.
A grid works well for a scene launcher or room-based light controls, provided that:
- The number of columns is limited.
- Every card remains readable.
- The focus order is predictable.
- Cards are large enough to select from the couch.
Step 4: Configure a Simple Toggle Action
Home Assistant supports dashboard actions such as tapping, holding, and double-tapping on compatible cards. Available actions include toggling an entity, performing another Home Assistant action, opening a dashboard view, and displaying additional information.
For a straightforward light control, the desired behavior is normally:
- Select once: turn the light on or off.
- Optional secondary interaction: open detailed controls.
For example, create a Button card for light.living_room, name it “Living Room,” use the mdi:ceiling-light icon, and set the primary action to toggle the light on or off.
The entity ID is only an example.
For Apple TV, avoid assigning critical actions to gestures or interaction patterns that are difficult to discover. The main action should be obvious and require as few steps as possible.
Step 5: Create Home Assistant Scenes
Scenes are useful when one Apple TV control should set several lights at once.
Home Assistant scenes define the target states of included entities. A scene can specify that one light should turn on, another should turn off, and a third should use a particular brightness or color.
Useful television scenes include:
Movie Night
Possible actions:
- Dim the living-room ceiling lights.
- Turn on the TV backlight.
- Set lamps to warm white.
- Turn off lights that reflect on the screen.
Relax
Possible actions:
- Set lamps to moderate brightness.
- Use a warmer color temperature.
- Turn off the main ceiling fixture.
- Keep hallway lighting at a low level.
Good Night
Possible actions:
- Turn off downstairs lights.
- Leave a hallway night light on.
- Turn off exterior decorative lighting.
- Prepare selected rooms for nighttime.
Guests
Possible actions:
- Turn on entrance and living-room lights.
- Increase overall brightness.
- Turn on dining-area lighting.
- Disable unusually dark or colored lighting.
Away
Possible actions:
- Turn off nonessential lights.
- Leave selected security lighting enabled.
- Apply a consistent departure state.
All Lights Off
This can be implemented as a scene, script, or group control. It should be labelled precisely so the user understands whether it affects one room, one floor, or the entire home.
Step 6: Add a Scene to the Apple TV Dashboard
Once a scene exists as a Home Assistant entity, add a Button card or another suitable control to the dashboard.
For example, create a Button card for scene.movie_night, name it “Movie Night,” use the mdi:movie-open icon, and configure the primary action to activate the scene.
The actual entities and actions must match your installation.
The exact editor terminology and YAML representation can change between Home Assistant releases, so configure the action through the current dashboard editor where possible.
Use direct, user-facing labels:
- Movie Night
- Relax
- Reading
- Guests
- Good Night
- All Lights Off
Do not use labels such as Scene 1, Automation A, or Living Room Preset 04.
Step 7: Use Scripts for Multi-Step Actions
Scenes define desired states, but they do not provide the same sequential logic as scripts.
Use a script when the Apple TV button needs to:
- Activate a scene.
- Wait for a delay.
- Turn on another device.
- Check a condition.
- Send a notification.
- Perform different actions depending on the current state.
For example, a Movie Night script could:
- Activate the Movie Night lighting scene.
- Close supported blinds.
- Set the thermostat to a preferred temperature.
- Wait several seconds.
- turn off a hallway light.
Home Assistant scripts run a defined sequence from top to bottom and can be called from a dashboard button.
A Movie Night script could first activate scene.movie_night, wait five seconds, and then turn off light.hallway. The actual sequence should be adapted to the devices and routines configured in your home.
The actual entities and actions must match your installation.
Step 8: Add the Script to the Dashboard
After creating the script, add it as a large dashboard control.
To launch the routine from Apple TV, create a Button card linked to script.movie_night, name it “Start Movie Night,” use the mdi:movie icon, and configure the primary action to run the script.
Home Assistant explicitly supports running scripts from dashboard buttons.
For Apple TV, use a button name that describes the result rather than the technical implementation.
Good:
- Start Movie Night
- Prepare for Guests
- Turn Everything Off
- Bedtime Routine
Less useful:
- Run Script
- Scene Controller
- Automation Trigger
- script.living_room_02
Step 9: Open the Dashboard in HADash
Once the dashboard works correctly in Home Assistant:
- Open HADash on Apple TV.
- Select the connected Home Assistant server.
- Open the dedicated TV dashboard.
- Navigate to the Lights or Scenes view.
- Test each control with the Apple TV Remote.
HADash connects directly to Home Assistant and displays existing dashboards, so the main dashboard configuration remains in Home Assistant.
Do not begin testing with twenty controls at once. Start with:
- One light.
- One scene.
- One script.
After those work reliably, add the remaining controls.
How to Design a Remote-Friendly Lighting Dashboard
Use Large Controls
Every important control should be easy to identify and focus on from normal television viewing distance.
Use:
- Large icons.
- Short names.
- Strong contrast.
- Clear on/off states.
- Spacious card layouts.
Avoid:
- Tiny buttons.
- Long technical names.
- Dense lists.
- Narrow sliders.
- Too many controls in one row.
Limit the Number of Columns
A television dashboard with too many columns creates small cards and difficult remote navigation.
A two- or three-column layout is often more practical than a dense six-column grid. The exact layout depends on screen size, viewing distance, and the cards being used.
Organize Controls by Room
Room-based navigation is easier than one long list.
Example:
Living Room
- Ceiling Lights
- Reading Lamp
- TV Backlight
- Movie Night
- Relax
Kitchen
- Main Lights
- Counter Lights
- Dining Lights
- All Kitchen Lights Off
Outside
- Entrance
- Driveway
- Garden
- All Exterior Lights
Put Scenes Near the Top
Scenes usually provide more value per remote action than individual controls.
A first screen might contain:
- Movie Night
- Relax
- Guests
- Good Night
- All Lights Off
Individual lights can remain in separate room views.
Show Current State Clearly
Users need to see whether a light is on before selecting it.
The card should provide an obvious visual difference between:
- On.
- Off.
- Unavailable.
Do not rely only on subtle color changes that may be difficult to see across the room.
Avoid Accidental Activation
Do not place a harmless scene directly beside a security-sensitive action.
For example, avoid arranging these side by side:
- Relax.
- Open Garage.
- Movie Night.
- Disarm Alarm.
The Apple TV dashboard should focus on low-risk shared controls unless additional safeguards exist.
Best Scenes for an Apple TV Dashboard
Movie Night
The most natural Apple TV scene. It can dim the room and prepare lighting around the television.
Pause Break
A scene or script that temporarily raises the lights when playback is paused.
This requires separate automation logic if it should react automatically to Apple TV playback. A manual dashboard button can provide a simpler alternative.
Cleaning
Turns on brighter room lighting and disables decorative lighting.
Reading
Activates focused lamps and reduces unrelated lights.
Guests
Creates balanced lighting in the entrance, living room, and dining area.
Good Night
Turns off shared-space lighting and leaves only necessary night lights.
Away
Applies a clear departure state to lighting and other selected devices.
All Downstairs Lights Off
More precise than a generic All Off button and less likely to affect occupied bedrooms or outdoor safety lighting.
Should You Use Custom Cards?
Home Assistant supports community-created custom cards, but custom components may depend on browser-specific JavaScript, touch gestures, pop-ups, or interaction models that are not reproduced identically on tvOS. Home Assistant’s own dashboard documentation distinguishes standard cards from community custom cards.
For the most reliable Apple TV setup:
- Start with standard Button, Tile, Light, and Grid cards.
- Confirm basic navigation and actions in HADash.
- Add custom cards individually.
- Test every interaction with the Apple TV Remote.
- Keep a standard-card fallback.
A visually impressive mobile dashboard is not automatically the best television dashboard.
Security and Household Access
Apple TV is commonly shared by several people. The dashboard should therefore be treated as a household interface rather than a private administrator panel.
Consider creating a separate Home Assistant user for HADash and providing access only to an appropriate dashboard.
Suitable shared controls include:
- Interior lights.
- Non-sensitive scenes.
- Climate presets.
- Selected cameras.
- Media-related scripts.
Controls that may require additional caution include:
- Door locks.
- Garage doors.
- Alarm disarming.
- Gates.
- Security modes.
- Private cameras.
- Administrative settings.
A television dashboard should not expose a dangerous action merely because Home Assistant makes that entity available.
Troubleshooting
The Light Card Is Visible but Does Not Respond
Check that:
- The entity works in the standard Home Assistant dashboard.
- The HADash user has permission to access it.
- The card has a valid action.
- The entity is available.
- Apple TV can reach the Home Assistant server.
- The dashboard is not displaying an outdated configuration.
Replace the card temporarily with a basic Button card and a simple toggle action.
The Light Changes but the Card State Does Not Update
Possible causes include:
- A delayed state report from the device.
- An unstable integration.
- Network latency.
- The dashboard not refreshing correctly.
- A light controlled through a cloud integration.
- A custom card that does not update correctly in the tvOS client.
Check whether the state also updates slowly in the standard Home Assistant interface.
The Scene Does Not Activate
Confirm that:
- The scene works when activated directly in Home Assistant.
- The correct scene entity is used.
- The dashboard action calls the scene.
- All devices included in the scene are available.
- The scene does not contain obsolete entity IDs.
- The target light supports the stored attributes.
Test the scene independently before testing it through HADash.
Only Some Lights in the Scene Respond
This normally points to the scene or device integrations rather than Apple TV.
Check:
- Whether every entity is available.
- Whether the scene contains the intended devices.
- Whether a device was renamed or replaced.
- Whether one integration is responding more slowly than others.
- Whether the target brightness, color, or effect is supported.
A Script Starts but Stops Before Completion
Review the script trace and Home Assistant logs.
Possible causes include:
- A failed action.
- An unavailable entity.
- A condition that was not met.
- Incorrect action data.
- An invalid delay or template.
- A device integration error.
Home Assistant scripts can include conditions, branching, delays, and error-handling behavior, so the failure may occur after the initial dashboard selection.
The Remote Navigation Order Feels Wrong
Simplify the view:
- Reduce columns.
- Remove nested cards.
- Avoid overly complex stacks.
- Use equally sized controls.
- Group related cards in a predictable grid.
- Move secondary controls to another view.
Test navigation from the couch, not only while standing close to the screen.
A Brightness Slider Is Difficult to Use
Replace it with simpler controls:
- On and off.
- Bright.
- Dim.
- Reading.
- Movie Night.
Scenes can provide reliable preset brightness levels without requiring precise slider interaction.
A Custom Card Works in a Browser but Not in HADash
Use a standard Home Assistant card to determine whether the problem is:
- The entity.
- The dashboard action.
- The network connection.
- The custom card.
When the standard card works, the custom component is the likely compatibility issue.
Example Apple TV Dashboard Structure
A practical living-room dashboard could use this hierarchy:
Main View
- Movie Night
- Relax
- Guests
- Good Night
- All Downstairs Lights Off
- Living Room Lights
Lights View
- Ceiling Lights
- Reading Lamp
- TV Backlight
- Hallway
- Dining Area
- Kitchen
Scenes View
- Movie Night
- Reading
- Cleaning
- Guests
- Away
- Good Night
Status View
- Lights Currently On
- Entrance Sensor
- Indoor Temperature
- Main Camera
- Energy Summary
This structure keeps the most common actions on the first screen while preserving access to individual controls.
Final Thoughts
Controlling Home Assistant lights and scenes from Apple TV works best when the television dashboard is designed around simple, shared actions.
The most reliable setup is to:
- Verify every light and scene in Home Assistant.
- Create a dedicated Apple TV dashboard.
- Start with standard cards.
- Use large, clearly labelled controls.
- Prioritize scenes over numerous individual lights.
- Use scripts for multi-step routines.
- Test the dashboard with the Apple TV Remote.
- Keep security-sensitive entities off the shared screen.
HADash provides the tvOS interface, while Home Assistant remains responsible for the entities, scenes, scripts, actions, and dashboard configuration. Because HADash displays existing dashboards, improvements made in Home Assistant can be reflected on Apple TV without recreating the smart home interface in another system.
Sources
- Home Assistant: Dashboards.
- Home Assistant: Dashboard Cards.
- Home Assistant: Dashboard Actions.
- Home Assistant: Button Card.
- Home Assistant: Grid Card.
- Home Assistant: Scenes.
- Home Assistant: Script Syntax.
- Apple App Store: HADash.
Home Assistant dashboard behavior and HADash capabilities were checked against the cited official sources in August 2026. Card support, interface labels, and available controls may change in later releases.